
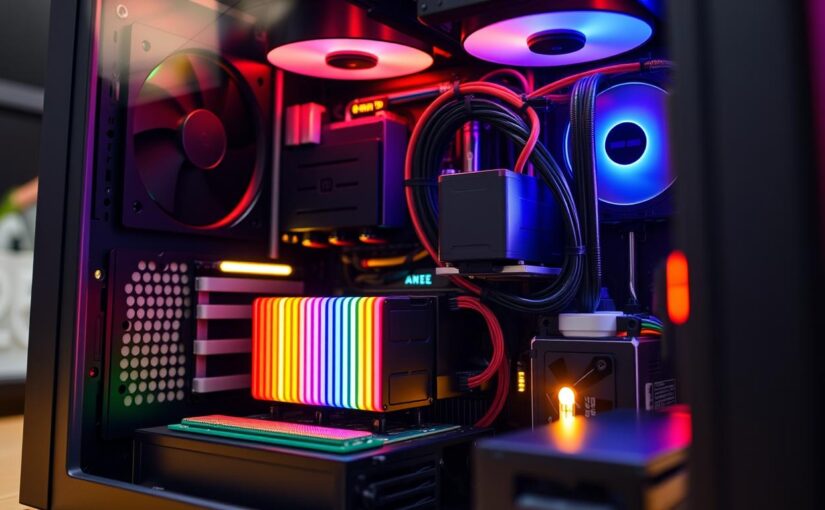
Forget big desktop towers. The PC building world has moved to the small form factor, or SFF PC. It’s not just about making a smaller computer. It’s a complex puzzle of thermodynamics and space.
Imagine Tetris with a PhD in thermodynamics. Each part, from the power supply to the CPU cooler, must fit perfectly. The choice between a sandwich-layout or a traditional airflow layout shapes your build’s personality.
We’re not just putting a powerful PC in a small space. It’s a masterclass in engineering under tight constraints. Every small space is valuable, and the fight for performance is fierce. This is the SFF PC craze: where the challenge is as rewarding as the final, compact result.
What’s new in SFF: layouts, liters, GPU clearance, radiator support
The SFF PC scene has changed a lot. It’s not just about putting parts in a small box anymore. Now, every tiny space is important for performance and keeping things cool.
Today, SFF PCs are all about volume. We talk about liters, not just size. The real challenge is in the first 20 liters for a cool, quiet, and powerful build.
Layouts and Liters: The New Math of Miniaturization
Now, we talk about volume in SFF. A 10-liter case is a big puzzle, while a 15-liter case is a bit easier. This is the new way of thinking about making small PCs.
There are two main ways to arrange parts in SFF PCs:
- The Classic Layout (Traditional): Cases like the Ncase M1 use a traditional setup. This is good for beginners because it’s easy to work with.
- The Sandwich Layout: Cases like the FormD T1 put the motherboard and GPU back-to-back. This saves space but requires a good riser cable.
The Liter Class and GPU Clearance
The size of your case matters a lot. A 7-liter case is very challenging, while a 15-liter case is more spacious. The most important thing is how much room your GPU has.
It’s not just about if your GPU fits. You need enough room for airflow. A thick GPU can choke if it’s too close to a mesh panel.
The table below shows how different cases handle GPU size. It shows the balance between size and compatibility.
| Case Model | Total Volume (L) | Max GPU Length (mm) | Max GPU Thickness (Slots) | Notable Layout |
|---|---|---|---|---|
| FormD T1 Reference | ~10L | 320mm | 2.5-3 Slots | Sandwich |
| Cooler Master NR200 | ~18L | 330mm | 3+ Slots | Classic (Traditional) |
| Dan Case A4-SFX | ~7.2L | 295mm | 2.5 Slots | Sandwich |
| SSUPD Meshlicious | ~14.7L | 332mm | 3+ Slots | Vertical Sandwich |
Radiator support is also key. A case that can only fit a small liquid cooler is different from one that can fit a big one. This choice affects your cooling strategy from the start.
Building an SFF PC is all about making smart choices. It’s not just about picking parts; it’s solving a puzzle. The goal is to make a powerful PC without sacrificing too much.
Cooling strategies: sandwich vs airflow, pressure balance, fan maps
In a Small Form Factor (SFF) case, cooling is key. You can’t just use a big tower cooler. It’s a battle against physics, where every bit of space and airflow matters.
Choosing your cooling strategy is more than just picking a big cooler. It’s about making the whole case work together as a thermal system. This is where SFF building gets really creative.
Sandwich vs. Airflow: A Thermal Duel
In SFF, you have two main cooling styles. The sandwich layout puts the motherboard and GPU on opposite sides. It’s like a subway, moving air fast and efficiently.
This layout gives the GPU and CPU their own airflow lanes. It’s very effective at moving heat away.
The traditional layout is like the classic NCASE M1. It’s for larger air coolers. But it needs careful planning to work well.
Wrong fan settings can cause a thermal jam. It’s like a traffic jam in your case.
Choosing between sandwich and traditional layouts depends on your case’s needs. The sandwich is fast and sleek, but the traditional layout can handle bigger coolers.
It’s about finding the right fit for your system. Both have their strengths and weaknesses.
The Art of Pressure Balance and Fan Maps
Airflow tuning is an art. It’s about controlling air movement in your case. Think of it as a tiny, pressurized space.
You have two main pressure strategies:
- Positive Pressure (more intake than exhaust): This keeps dust out. It pushes air in, forcing dust out of gaps. Your components stay clean longer.
- Negative Pressure (more exhaust than intake): This creates a vacuum. It can cool specific components better. But it lets dust in.
Your fan map controls fan speeds based on temperature. A good map anticipates heat from your GPU. It uses the case as a duct, not just a box.
This makes your system quiet under load. It’s all about finding the right fan curve for airflow tuning.
| Cooling Strategy | Best Use Case | Thermal Performance | Noise Profile | Dust Control |
|---|---|---|---|---|
| Positive Pressure (More Intake) | General use, dust-sensitive environments | Very Good (with good filters) | Can be very quiet with good fans | Excellent (if filters are used) |
| Negative Pressure (More Exhaust) | Maximizing raw cooling for a single component | Excellent (for target component) | Often louder, higher-pitched fan noise | Poor (intakes dust easily) |
| Balanced Pressure | Quiet, all-around performance | Good | Excellent (fans run slower) | Good, if intakes are filtered |
Winning the thermal duel in an SFF case isn’t about having the most fans. It’s about airflow tuning them right. It’s about listening to your system and adjusting the pressure balance. It’s not just cooling; it’s climate control.
CPU/GPU thermals: 240 AIO vs low-profile air results
Welcome to the pressure cooker. When you shrink a high-performance PC into a sub-15-liter case, you’re not just building a computer—you’re conducting thermal alchemy. The debate of air versus liquid cooling gets a dramatic rewrite inside a small form factor case. It’s not just about which cooler fits; it’s about which cooler survives in the micro-climate you’ve just created.
The stakes? Your CPU’s performance, your system’s noise level, and the long-term health of components that are huddled together for warmth. Let’s dissect the thermal duel between the siren song of a 240mm All-in-One (AIO) liquid cooler and the humble, self-contained low-profile air cooler.
The Liquid vs. Air Duel in a Tiny Box
On paper, the 240mm AIO is the undisputed king of cooling. A 240mm radiator offers a massive surface area for heat dissipation, promising to keep even the hottest CPUs in check. In a full-tower case, it’s a no-brainer. But in a sandwich-layout SFF case, you’re not just installing a cooler—you’re negotiating a peace treaty between a radiator, case fans, and the limited exhaust paths.
The AIO’s promise of “high thermal mass” and efficient heat export is a siren song for a toasty CPU, but that song can turn into a desperate wheeze when the radiator can’t get enough fresh air.
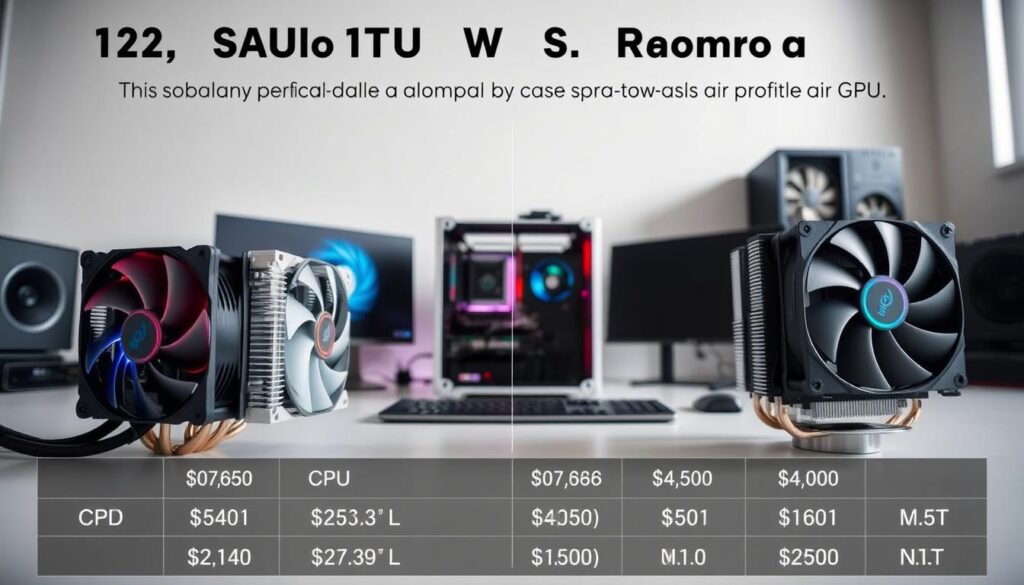
Conversely, the low-profile air cooler is the quiet, unassuming monk of cooling solutions. It has no pumps to fail, no liquid to leak, and its entire existence is a lesson in self-containment. It takes the heat from your CPU and, through a dense array of fins and heat pipes, pushes it directly into the case.
The question is: can the case itself handle that hot air? In many SFF builds, this is where the battle is won or lost.
Real-World Thermal Performance
Let’s talk numbers. In a well-ventilated, airflow-focused SFF case, a 240mm AIO can work wonders, keeping a high-TDP CPU cool and quiet. But in a sandwich-layout case with poor ventilation or a “hotbox” design, that same AIO can struggle.
The radiator, now a secondary heat source, dumps its waste heat directly into the case, pre-heating the air for your GPU and VRMs. The result? You might have a cool CPU, but your GPU and motherboard components start to throttle. The low-profile air cooler, while less effective at pulling heat from the CPU die, often provides a more balanced thermal environment.
The low-profile air cooler is a system-wide philosophy: a localized, self-contained solution versus a centralized, system-wide cooling strategy.
The table below breaks down the trade-offs in a typical 10-15L sandwich-style case:
| Cooler Type | Peak CPU Temp (Cinebench R23) | System Noise (dBA) | Impact on GPU Temps | Case Dependency |
|---|---|---|---|---|
| 240mm AIO | 68°C | 38 dBA | High (Exhausts hot air into case) | Extreme (Needs top/bottom vents) |
| Low-Profile Air (e.g., Noctua L9a) | 78°C | 34 dBA | Low (Localized heat) | Moderate (Needs side vents) |
| Low-Profile Tower (e.g., NH-L12S) | 72°C | 36 dBA | Moderate | High (Needs side clearance) |
Notice the trade-off. The AIO gives you the lowest CPU temperature on paper, but at what cost? That 240mm radiator needs to breathe. In a case with poor top or side ventilation, the AIO’s fans must work harder, increasing noise and potentially recycling hot air.
The low-profile air cooler, while running the CPU a few degrees warmer, often does so with less system-wide thermal impact. It’s the difference between a central air conditioner and a space heater with a fan.
This is where the “SFF thermal equation” gets interesting. A low-profile cooler like the Noctua NH-L12S or the Thermalright AXP-100 might let your CPU run a bit warmer, but it dumps less heat into the case’s overall ecosystem. In a cramped SFF build, that can mean the difference between a stable GPU and a thermal-throttling one.
The AIO, while a CPU-focused champion, can inadvertently turn your case into a sauna for your precious GPU and power delivery components.
The verdict isn’t a simple “air is better” or “AIO is king.” It’s a strategic choice. Are you building a pure gaming rig where the GPU is the real heat generator? A low-profile air cooler might free up case airflow for the GPU.
Building a compact workstation for CPU-heavy tasks? The brute-force cooling of a 240mm AIO might be worth the system-wide thermal trade-off. The key is to stop thinking of the CPU in isolation and start thinking of your SFF case as a single, interconnected thermal system. Your cooler choice isn’t just about the CPU—it’s about the thermal harmony of your entire, tiny, expensive, and very toasty little box.
PSUs: SFX vs. SFX-L, ATX 3.1 readiness, cable management tips
In the world of SFF, the power supply unit is key. It’s not just a part; it’s the heart of your build. The wrong choice can ruin your project.
When picking a PSU, you’re not just choosing power. You’re deciding on your system’s future. It affects everything from noise to looks. It’s a mix of science and guesswork.
The SFX Power Play: Size, Noise, and Future-Proofing
The debate in SFF circles is about size and noise. It’s SFX vs. SFX-L. The standard SFX fits in tight spaces but can be noisy.
The SFX-L is longer, allowing for a bigger fan. This makes it quieter. But, it might not fit in all cases.
Now, there’s a new focus: ATX 3.1 readiness. This spec ensures your PSU can handle new GPUs. It’s about being ready for the future.
Cable Management in the Abyss
Cables are a big problem in small cases. They block air and make things hot. Good cable management is essential for cooling.
For SFF, use custom-length cables. Stock cables are too long. They make your case look like a mess. You want clear air channels, not a cable jungle.
| Feature | Standard SFX | SFX-L | Key Consideration |
|---|---|---|---|
| Dimensions (W x H x L) | 100mm x 63.5mm x 125mm | 130mm x 63.5mm x 125mm | SFX-L is 30mm longer, often causing fitment issues in tight layouts. |
| Fan Size (typical) | 92mm | 120mm | Larger fan in SFX-L allows for lower, quieter operation. |
| Noise Profile | Can be higher-pitched, ramps up faster. | Generally quieter, with lower RPM fan curves. | SFX-L has an acoustic advantage in sustained loads. |
| ATX 3.0/3.1 Support | Available in both form factors. Look for “ATX 3.0 Ready” or “ATX 3.1” on the spec sheet. | Non-negotiable for future GPU compatibility. | |
| Ideal Use Case | Ultra-compact, sandwich-layout cases where every mm counts. | Cases with slightly more headroom, where low noise is a priority. | Always, always check your case’s PSU clearance. |
So, what’s the best choice? For tiny cases, go with SFX. For slightly bigger ones, SFX-L is better. But always choose a PSU ready for ATX 3.1. It’s about being ready for the future.
Riser cables: signal integrity and installation best practices
In a small form factor build, the riser cable is often overlooked. Yet, it’s key to connecting your motherboard to your GPU. A bad cable can turn your build into a pricey paperweight. But the right one can unleash your system’s full power.
The Risky Business of Riser Cables
Your PCIe riser cable is like a data highway. A low-quality cable can slow down your system. It’s not just about speed; it can also cause system crashes and failures.
The riser cable is more than just a simple cable. It’s a complex piece of engineering. The quality of the materials affects how well your data is transmitted.
Installation: A Delicate Dance
Installing a riser cable requires precision. Avoid sharp bends and ensure connectors are seated properly. You’ll know it’s right when you hear a satisfying click.
Modern motherboards often default to PCIe Gen3 mode. If you have a Gen4 or Gen5 riser cable and GPU, you need to change this in your BIOS. Failing to do so can cripple your GPU’s performance.
| Installation Step | Correct Action | Common Mistake | Potential Consequence |
|---|---|---|---|
| Seating the Cable | Align the connector carefully and apply even, firm pressure across the entire length of the connector. | Forcing it at an angle or only pressing one side. | Bent pins, poor connection, intermittent signal. |
| Routing the Cable | Create gentle, sweeping bends. Use cable ties loosely to secure, not pinch. | Forcing a tight 90-degree bend or kinking the cable. | Damaged internal wires, signal degradation. |
| BIOS/UEFI Settings | Manually set PCIe slot speed to match your riser/GPU (e.g., Gen4). | Leaving it on “Auto” or “Gen3”. | Bottlenecking GPU performance; system instability. |
| Physical Support | Use a GPU support bracket. The riser cable is not a structural component. | Letting the heavy GPU hang from the riser connector. | Shear stress on the riser connector, leading to failure. |
Treating your riser cable with care is essential for a successful SFF build. It’s the difference between a temperamental build and a high-performance machine. Choose a quality cable, install it carefully, and set your BIOS. Your graphics card will thank you.
Noise-normalized testing and target curves
In the world of small PCs, silence is key. Even the most powerful mini-ITX systems can be too loud. The art of noise-normalized testing helps make them quiet.
This method finds a balance between performance, heat, and acoustic signature. It’s not just about being the coolest. It’s about being cool and quiet.
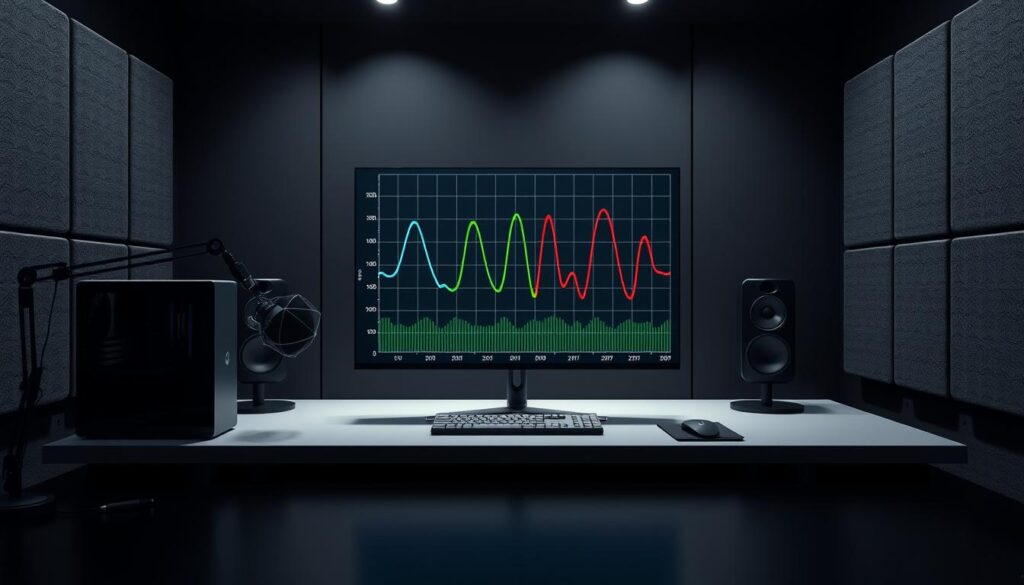
Think of it as being your PC’s audio engineer. You’re not just setting fan speeds. You’re mixing the perfect sound for your PC.
The goal is to create a target acoustic profile. Is your PC silent for work or loud for gaming? Your target curve shows your vision.
The Decibel Dilemma: Normalizing the Noise
Forget about a “quiet” PC. The real question is, quiet for whom and for what? The decibel (dBA) scale is your guide. A library is 30 dBA, a quiet office 40 dBA.
Your goal is to map your system’s noise-normalized performance between these levels.
Noise-normalized testing is your best tool. You run stress tests, adjust fan curves, and measure sound and temperature. It’s not just about cooling. It’s about cooling quietly.
You’re asking, “For a given, acceptable noise level, what is the best possible cooling performance I can achieve?” The answer is your noise-normalized performance curve.
Finding Your Acoustic Signature
This is where art meets science. Your target curve is your acoustic signature. Are you a “silence above all” purist or a “performance-first” user?
Creating your target curve is a three-step process:
- Establish Your Baseline: Run a stress test with fans on default. Note the peak temperature and the corresponding noise. This is your “loud and cool” baseline.
- Define Your Threshold: Using a sound meter app or a calibrated mic, determine the maximum noise floor you can tolerate—say, 35 dBA for a home office.
- Plot the Curve: Using your fan control software, create a custom fan curve. The goal isn’t a straight line from 0-100%. It’s a curve. Maybe you let the system run silent until 60°C, then ramp up slowly to 60% fan speed at 75°C, but never exceed 50 dBA.
The magic happens in the margins. A small change in fan speed can make a big difference in noise. This isn’t about winning a synthetic benchmark; it’s about winning the experience in your actual room.
For the SFF builder, this is the final, most personal stage of the build. You’ve assembled the hardware, managed the cables, and tamed the thermals. Now, you fine-tune the acoustics. It’s the difference between a computer that simply functions and a system that feels like a precision instrument. In the confined, heat-soaked quarters of a 10-liter case, how you manage this delicate balance of airflow and acoustics is what separates a good build from a great one.
Build Lists by Budget and Performance Goal (1440p/4K)
Building a small form factor PC is all about finding the right balance. Every part, from the power supply to the CPU cooler, must fit perfectly in a tiny case. The ITX case sets the stage for your build, guiding every choice you make.
Your goal is to create a system that performs well, whether you aim for smooth 1440p or stunning 4K gaming.
The Budget Build: 1440p Value King
This build aims for 1440p, where games look great and run smoothly. It’s about finding a balance: a strong CPU and a GPU that handles 1440p without breaking the bank. The case is key, as it affects how well your components fit, like big GPUs and coolers.
A 240mm AIO liquid cooler or a large air cooler is essential to keep things cool.
The 4K Enthuasiast: No Compromises
For 4K gaming, the GPU is the star, and the ITX case is its home. This build focuses on quality over quantity. You need a case that can hold a big GPU and a power supply that can handle it.
Every part, from the SFX-L PSU to the low-profile RAM, is chosen carefully. The case is not a limitation but a key player in your system’s performance.
The table below shows the different parts you might choose for a budget 1440p build and a high-end 4K system.
| Component | Budget 1440p King | 4K Enthuasiast |
|---|---|---|
| CPU | Mid-range 6-core (e.g., Ryzen 5 7600X, Intel Core i5-13600K) | High-end 8+ core (e.g., Ryzen 7 7800X3D, Intel Core i7-13700K) |
| GPU | Upper-mid-range (e.g., RTX 4070 Super) | High-end (e.g., RTX 4080 Super or better) |
| RAM | 32GB DDR5 6000MHz | 32GB+ DDR5 6000MHz+ (low-profile for clearance) |
| Cooling | Large air cooler or 240mm AIO | 280mm or 360mm AIO, or high-end air cooling |
| Case Philosophy | Optimize for airflow and value | Maximize cooling for high-TDP components |
Choosing the right ITX case is the first and most important step. It determines your cooling options, GPU size, and more. A good ITX case for a budget build focuses on airflow and value. For a 4K build, you need a case that can handle high power spikes from the GPU.
The build list is your script, and the ITX case is the stage. Choose your stage wisely, and your performance will shine.
Maintenance and travel/LAN tips
Building a powerful PC in a shoebox is just the start. Keeping it cool, clean, and running smoothly is the real challenge. An SFF PC is a high-performance machine that’s easy to carry around. But, it needs special care.
Dust, Travel, and the Art of the Portable PC
Your SFF PC attracts dust easily because of its small size. Cleaning it regularly is key to keeping it cool. Every three to six months, open it up and use compressed air to clean the fans and heatsinks. Make sure to stop the fans first to avoid damage.
Use a soft, dry brush to clean the dust filters in your SFF case. Think of it as a monthly check-up for your PC.
When you’re on the move, your PC becomes a portable system. Check it over before you go to avoid any issues. Make sure everything is secure and won’t fall apart or short-circuit.
Cases like the Fractal Terra are designed for travel. They have lockable panels to prevent them from opening during transport. This small feature shows how much thought went into the design.
The LAN Party Survival Kit
At the LAN party, your PC is the star. But, being prepared is key. Your LAN party survival kit should have more than just cables and a surge protector.
- Portable Toolkit: A magnetic screwdriver, a spudger, and hook-and-loop tape for cables are essential.
- Peripheral Prep: Bring your own keyboard, mouse, and headset. Don’t count on the host to have extras.
- Power Planning: Know how much power your PC uses. Make sure the venue can handle it. A good power strip is a must-have.
- The Quick-Disconnect: Use quick-connect fittings for liquid cooling or a reliable air cooler for travel.
Remember, the goal is to have fun, not to fix problems. For more ideas on building a travel-ready PC, check out a selection of the best cases for gamers on the go.
A well-maintained, travel-ready SFF build is a statement. It shows you value performance and don’t mind carrying it around. It’s a computer that’s ready for anything, from your desk to a friend’s basement.
Final recommendations
You’ve made it through the maze of thermals, wattage, and clearance. The last step is learning from your journey.
The Sage’s Verdict: Build for Your Use Case
Chasing the last 1% of performance is pointless. It costs your sanity and quiet for a small gain. The first rule is to pick your case first.
The case’s size and layout shape your whole build. A case like the Fractal Design Terra lets you fit a powerful 3-slot GPU. Without the right case, your GPU is useless.
True performance comes from a balanced system, not just specs. Make sure your CPU doesn’t slow down and your power supply doesn’t complain.
The Final Component: Patience
This isn’t a race. Patience is the most important part. It’s about careful cable management, a quiet fan curve, and solving the puzzle.
The reward is a powerful, quiet SFF PC. It’s the joy of creating a system where every part works together quietly. That’s the sage’s final word.