
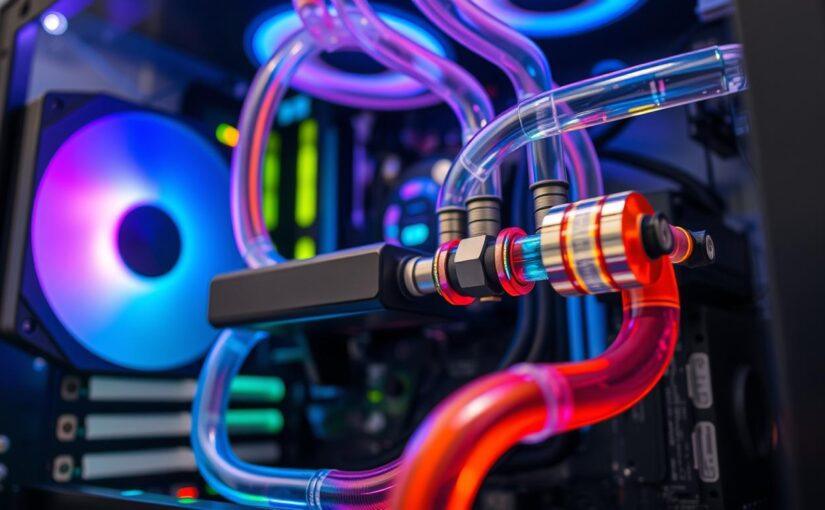
Heat is the enemy of performance. I’ve seen CPUs throttle more than politicians dodging questions. The main culprit is always heat density. Modern processors pack thermal energy into tiny spaces, turning your rig into a blast furnace.
Air coolers are like bringing a butter knife to a gunfight for high-wattage systems. A custom thermal solution is more than just cooling. It redefines the thermal envelope, letting your components run at high speeds without noise.
Noise is just as important. Why should a workstation sound like a wind tunnel? A custom system shifts the cooling burden to a large radiator array. This setup cools quietly, like a librarian shushing a rowdy patron.
This isn’t overkill—it’s smart thermal strategy. A 10°C drop in coolant temperature can make a big difference. We’re not building a water park; we’re creating a silent, efficient cooling system that handles 300-watt GPUs with ease.
Parts pump reservoir blocks radiators fans tubing fittings QDCs distro plates
Your custom loop is like an orchestra, with each part playing a key role. The pump is the heart, whether it’s a D5 or DDC model. It moves coolant reliably, keeping your system cool.
The reservoir is more than just a pretty face. It helps control temperature and lets you spot air bubbles. It also adds style to your build.
Water blocks for your CPU and GPU are where the magic happens. Made from copper or nickel, they pull heat away quickly. They’re like superheroes for your components.
Radiators come in different sizes, from 30mm to 60mm. Choosing the right fans is key. A good fan can make your radiator work better, keeping your system cool and quiet.
When it comes to tubing, you have many options. Soft, hard, or matte black EK ZMT tubing affects looks and maintenance. Soft tubing is forgiving, while hard tubing requires precision.
Fittings are essential for a leak-free loop. Cheap fittings can ruin your system. Invest in quality fittings for a reliable cooling loop.
Quick disconnects (QDCs) make maintenance easy. They let you swap parts without draining the loop. This feature is a game-changer.
Distro plates are popular for show builds. They can make cable management look great. But, they must not block flow.
The EK-Classic Kit P240 D-RGB is a great starter kit at €279.90. The EK-Quantum Power Kit Velocity² 480 Series is more expensive, starting at nearly €700. Each part affects your system’s performance and your sanity during the build.
Radiator math watts per degree delta push pull and static pressure curves
Let’s dive into the complex math behind choosing the right radiator size. The rule of thumb is to use 120mm of radiator space for every 100 watts of heat. But, your goals for delta T—the difference between coolant and air temperature—play a big role.
For a quiet build, aim for a 10°C delta T. This is the quietest spot. But, a 20°C delta T is also acceptable if you’re not stressing your components too much. Adding fans in a push/pull setup can cool your system more, but it also makes it louder.
Static pressure curves are key to picking the right fans for your radiator. For example, Noctua’s NF-A12x25 is great at pushing air through tight spaces. But, some fans with fancy lights might not do as well.
Choosing the right radiator isn’t just about size. It’s about matching the radiator’s fin density with your fans’ power. A radiator with fewer fins works well with quiet fans. But, a dense radiator needs fans that can handle the noise.
Don’t forget about coolant flow rate. If it’s too slow, you won’t cool your system well. If it’s too fast, you’ll waste energy. Finding the perfect flow rate is like a circus act.
| Radiator Type | FPI | Best Fan Type | Cooling Efficiency |
|---|---|---|---|
| Hardware Labs Black Ice SR2 | 10 | Low RPM Fans | High |
| EK-CoolStream PE | 12 | Medium RPM Fans | Medium |
| Alphacool NexXxoS | 14 | High RPM Fans | Very High |
Flow vs restriction pump head practical targets and myths
The debate on flow versus restriction in liquid cooling is like the chicken and egg question. It’s key to understanding for a top-notch custom loop. The D5 pump is like the Toyota Hilux of cooling, moving fluid through many parts easily.
But, myths about flow rates are everywhere. Some say you need 1.5 gallons per minute for the best cooling. Yet, the sweet spot is around 0.5 GPM. Going over adds pump heat, which isn’t good.
Pump head, measured in meters, is what really counts. It shows how well the pump can push against blockages. A D5 pump has 3.9 meters, enough for many parts. Restriction can sneak up on you, like from complex distro plates or tight fittings. Builders often focus on flow rate sensors but forget about the restriction curve, which is steep.
So, what should you aim for? A flow rate of 0.5 to 1.0 GPM is best. If your pump sounds like a coffee grinder, you might have a problem. And, a dual-pump setup is only needed for big server racks. A single D5, mounted right, will run quietly for years. Sometimes, less is more.
| Flow Rate (GPM) | Pump Head (meters) | Recommended Setup |
|---|---|---|
| 0.5 | 3.9 | Single D5 Pump |
| 1.0 | 3.9 | Standard Custom Loop |
| 1.5 | 3.9 | High-Performance Setup |
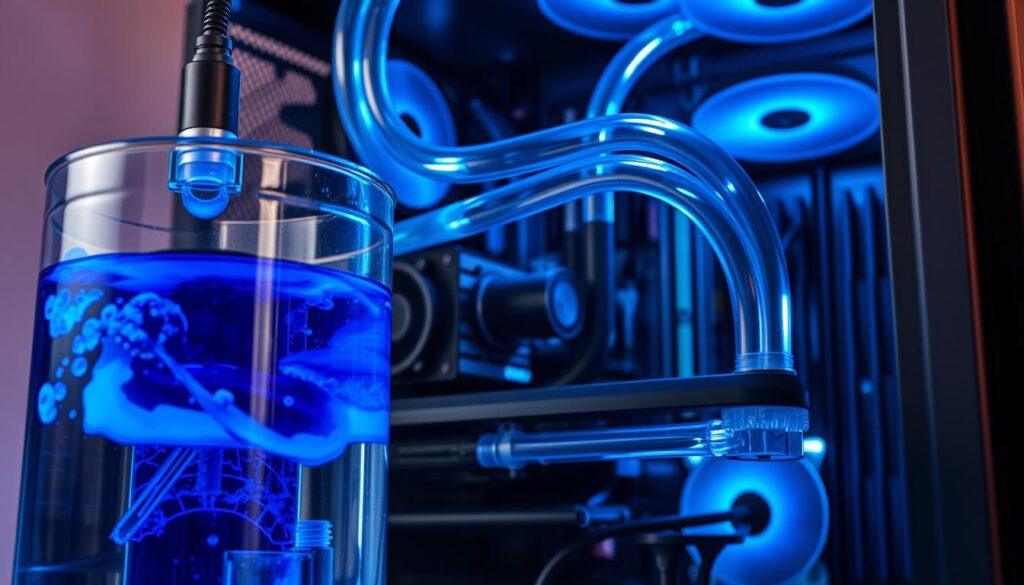
Coolant chemistry inhibitors biocide plastic clouding intervals
Coolant chemistry is more than just colors in your liquid cooling system. It’s like a science experiment that can either make or break your setup. The right coolant prevents your loop from becoming a gunky mess. The wrong choice might make your CPU block look like it’s been through a war.
Premixed coolants from brands like EK and Mayhems have corrosion inhibitors and biocides. These chemicals keep your loop clean and working well. Inhibitors prevent metals like copper and nickel from causing damage. Without them, your components could suffer severe damage over time.
Biocides act like bouncers, keeping algae and bacteria out of your system. You don’t want your liquid cooling system to turn into a swampy nightmare.
Plastic clouding is another concern. Soft PVC tubing can leach plasticizers, causing a hazy film on your blocks. EK’s ZMT (Zero Maintenance Tubing) is a strong, silent type that doesn’t leach anything. If you prefer aesthetics, opaque pastel coolants might look gorgeous but can clog microfins faster than a politician changes their stance.
Maintenance intervals are a topic of debate. A good rule of thumb is to drain and refill your coolant every 12 months. If your fluid starts looking like a science project gone wrong, don’t wait—act quickly!
| Coolant Type | Inhibitors | Biocides | Plastic Clouding | Recommended Interval |
|---|---|---|---|---|
| EK Premixed | Yes | Yes | Low | 12 months |
| Mayhems Premixed | Yes | Yes | Medium | 12 months |
| DIY Mix | Varies | Varies | High | 6-12 months |
In conclusion, keeping your loop clean and efficient is key for performance. If you’re not ready for upkeep, stick to clear fluids and let your RGB do the talking. A loop that requires less care is one that lets you enjoy your PC more.
Layout order bleed fill drain port planning maintenance
Designing your liquid cooling custom loop is like planning a heist. Every detail is important. The order of components is key, from bleeding to filling and draining. Trying to tilt a 50-pound PC to remove an air pocket from your GPU block is frustrating.
Having a fill port at the top and a drain valve at the bottom is essential. It’s not just a luxury; it’s a necessity. I’ve learned this the hard way, with a coolant change that turned into a comedy routine.
Bleeding the loop of air can take hours. If your pump runs dry, you’ll need to replace it soon. Remember, your reservoir should feed directly into the pump. Pumps hate air more than cats hate baths.
When routing your tubing, aim for few bends and easy access. This is where your liquid cooling custom loop layout really shines. Drain port planning is key for long-term ownership. A ball valve at the bottom of a radiator can prevent a coolant spill.
Maintenance is more than just changing fluid. It’s about checking O-rings, looking for corrosion, and keeping the loop closed. Here’s a table to help you remember the essential components:
| Component | Purpose | Best Location |
|---|---|---|
| Reservoir | Holds coolant and allows for easy filling | Top of the loop |
| Pump | Circulates coolant through the system | Near the reservoir |
| Radiator | Removes heat from the coolant | After the pump |
| Drain Valve | Facilitates easy coolant changes | Bottom of the loop |
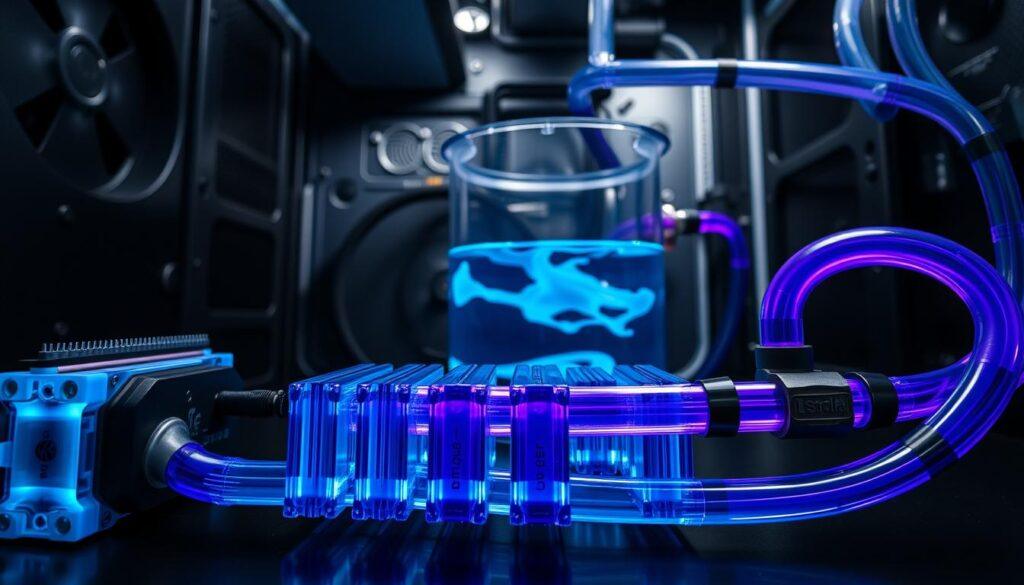
Monitoring flow temp leak sensors logging and alerts
Monitoring your liquid cooling custom loop is like checking your PC’s vital signs. If you ignore it, you risk serious problems. Flow sensors are essential for detecting pump failures or blockages. They’re so important that skipping them is like driving without a speedometer.
A simple impeller-style sensor can prevent major issues. Imagine your pump fails and you don’t notice until your CPU overheats. This can lead to serious damage. Instead, use a temperature sensor to control your radiator fans based on coolant temperature. This method is more efficient and avoids annoying fan noises.
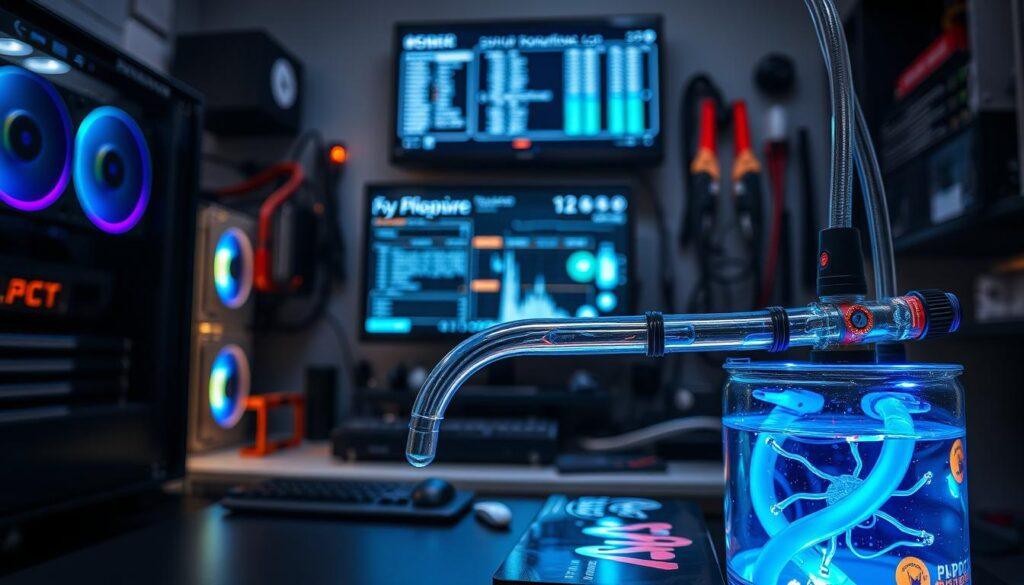
Leak sensors are like an insurance policy you hope to never use. They can detect a leak before it causes a short circuit. Getting a notification about a leak is better than finding out when it’s too late.
Using software like AquaSuite or HWiNFO64 lets you monitor your system like a thermal detective. You can spot trends and set alerts for temperature changes. This way, you’ll know if something’s wrong before it becomes a big problem.
- Flow Sensors: Detect pump failures and blockages.
- Temperature Sensors: Control fan speeds based on coolant temp.
- Leak Sensors: Alert you to possible leaks before damage occurs.
- Data Logging: Keep track of trends and system health.
- Alerts: Get immediate notifications for temperature issues.
Monitoring your system might seem overdone, but it’s worth it. A $30 sensor can save you from a costly mistake. Plus, it’s satisfying to see your coolant temperature steady while others struggle with heat.
Leak test 24h PSU jumper absorbent prep first power on
The leak test is more than just a step; it’s a big test for custom loop builders. Imagine spending a whole day watching for leaks in your liquid cooling system. It’s a 24-hour wait that shows who’s careful and who’s not.
Before starting the test, you need to get ready. Use a PSU jumper to power only the pump. This keeps your motherboard and GPU safe. Then, place absorbent paper towels under every connection. These towels help spot leaks early, before they cause problems.
While waiting, I check the loop a lot, like a parent watching a baby. It’s a lot of work, but it’s worth it for the peace of mind. Make sure all fittings are tight but not too tight. And check that all rotary fittings are secure.
Then, the big moment comes. The first time you turn on the power after a leak test is exciting. You’ll see the coolant flow and the system start without any leaks. It’s a win against the odds.
If you see a leak, don’t worry. Just drain, fix, and test again. It’s better to find a leak early than to damage your GPU. By going through this, you’ll be proud of your work.
| Preparation Steps | Details | Importance |
|---|---|---|
| Use PSU Jumper | Run only the pump | Prevents powering components |
| Lay Absorbent Towels | Under fittings and connections | Early leak detection |
| Tighten Fittings | With appropriate torque | Ensures seal integrity |
| Monitor for Leaks | During 24-hour test | Prevents hardware damage |
Cost vs benefit vs AIO and premium air comparisons
The debate over cost and performance in cooling systems is important. Custom loops, AIOs, and premium air coolers are all in the mix. A custom loop can be pricier than some PCs. For example, the EK-Classic Kit P240 D-RGB costs €279.90. The EK-Quantum Power Kit Magnitude 360 Series starts at €716.91.
On the other hand, a 360mm AIO costs around €150. The Noctua NH-D15 air cooler is about €100. It seems like the cost doesn’t match the benefits at first glance. But, it’s not just about cooling. It’s also about sound, flexibility, and the joy of building something special.
An AIO cools your CPU well but has a limited life. If the pump fails, you have to replace the whole unit. A custom loop, though, is modular. You can upgrade parts, add a GPU, or increase radiator size as your system grows. This flexibility is a big plus for enthusiasts.
Premium air coolers are reliable but can’t beat a custom loop’s cooling when overclocking. A good loop can cool 500 watts quietly at 800 RPM. No air cooler can do that.
So, is it worth it? If you see your PC as just an appliance, maybe not. But if it’s a hobby and a statement, then the cost is just the entry fee to a quiet, exclusive club.
| Cooling Solution | Price | Performance | Modularity | Noise Level |
|---|---|---|---|---|
| EK-Classic Kit P240 D-RGB | €279.90 | High | Yes | Low |
| EK-Quantum Power Kit Magnitude 360 | €716.91 | Very High | Yes | Very Low |
| 360mm AIO | €150 | Moderate | No | Moderate |
| Noctua NH-D15 | €100 | High | No | Low |
For more on cooling solutions, see this guide on water cooling vs AIOs vs air.
Build checklist maintenance calendar and spares
Building a liquid cooling custom loop is a big project. It’s like making a fine dish. You need the right parts, the right amount, and a good plan. A checklist helps you avoid extra parts and messy tubes.
Begin by flushing your radiators with hot distilled water. This removes any unwanted debris. Then, dry-fit your parts to see how they fit together. This step helps you avoid any surprises, like a tube bend ruining your look.
Make a maintenance schedule. Treat it like a regular appointment. Every six months, check for corrosion and clean dust filters. Once a year, drain and replace the coolant. If you use pastel fluids, take apart blocks for a deep clean. Skipping these steps can cause big problems, like car troubles.
Keep spare parts on hand. Extra O-rings, fittings, and tubing can save the day. When a fitting leaks unexpectedly, you’ll be glad you had spares. A well-kept liquid cooling system is a joy to have.